Example 1: Login system #
The first example is a login system. User can create account, login and logout. In this example, you will learn how to write a robust api route, how to persist user’s login status by JWT and how to secure a page.
These are all the features we need to implement:
- Page
/loginto show login form or create account form - Page
/usershow current user’s information. Redirect to/loginif user didn’t login - API route
/api/loginto login - API route
/api/signupto create account - API route
/api/logoutto logout
Login page #
c1695d97d65b0
Firstly, create a pages/login.tsx:
// pages/login.tsx

function LoginForm() {
  return (
    <>
      <div>
        <label>Username: </label>
        <input type="text" />
      </div>
      <div>
        <label>Password: </label>
        <input type="password" />
      </div>
      <button>Login</button>
    </>
  )
}

function SignUpForm() {
  return (
    <>
      <div>
        <label>Username: </label>
        <input type="text" />
      </div>
      <div>
        <label>Password: </label>
        <input type="password" />
      </div>
      <button>create account</button>
    </>
  )
}

function LoginPage() {
  return (
    <>
      <div>
        <h1>Login</h1>
        <LoginForm />

        <h1>Create account</h1>
        <SignUpForm />
      </div>
    </>
  )
}

export default LoginPage
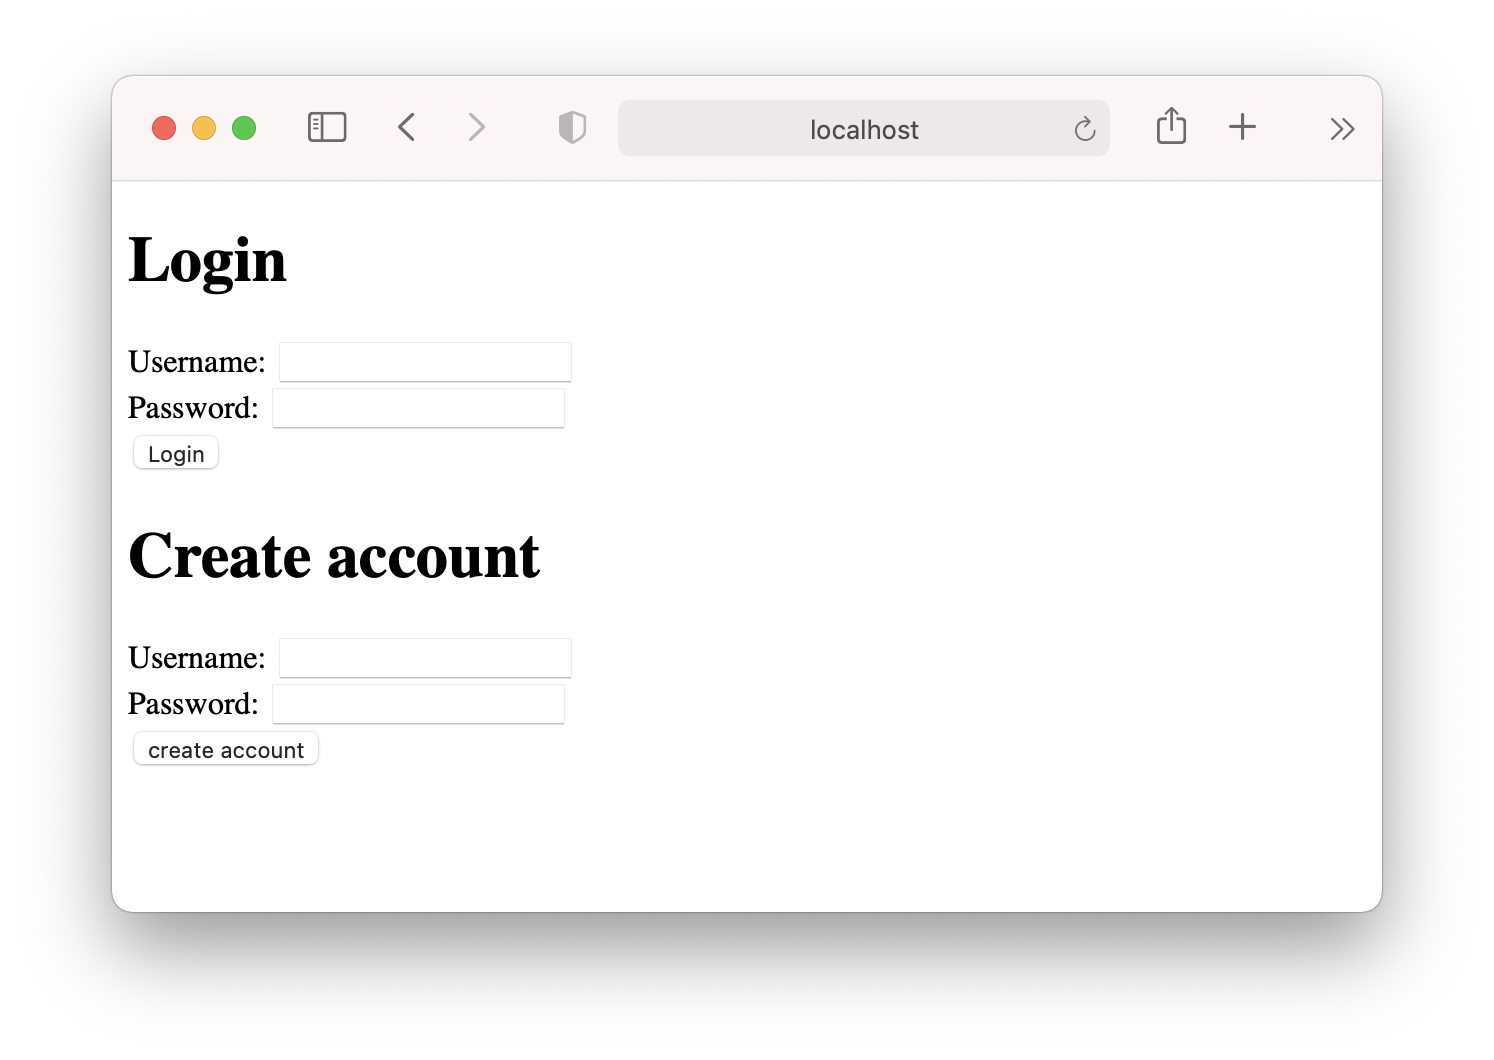
This is the basic UI in http://localhost:3000/login:
Create account #
f3d9abb6cef
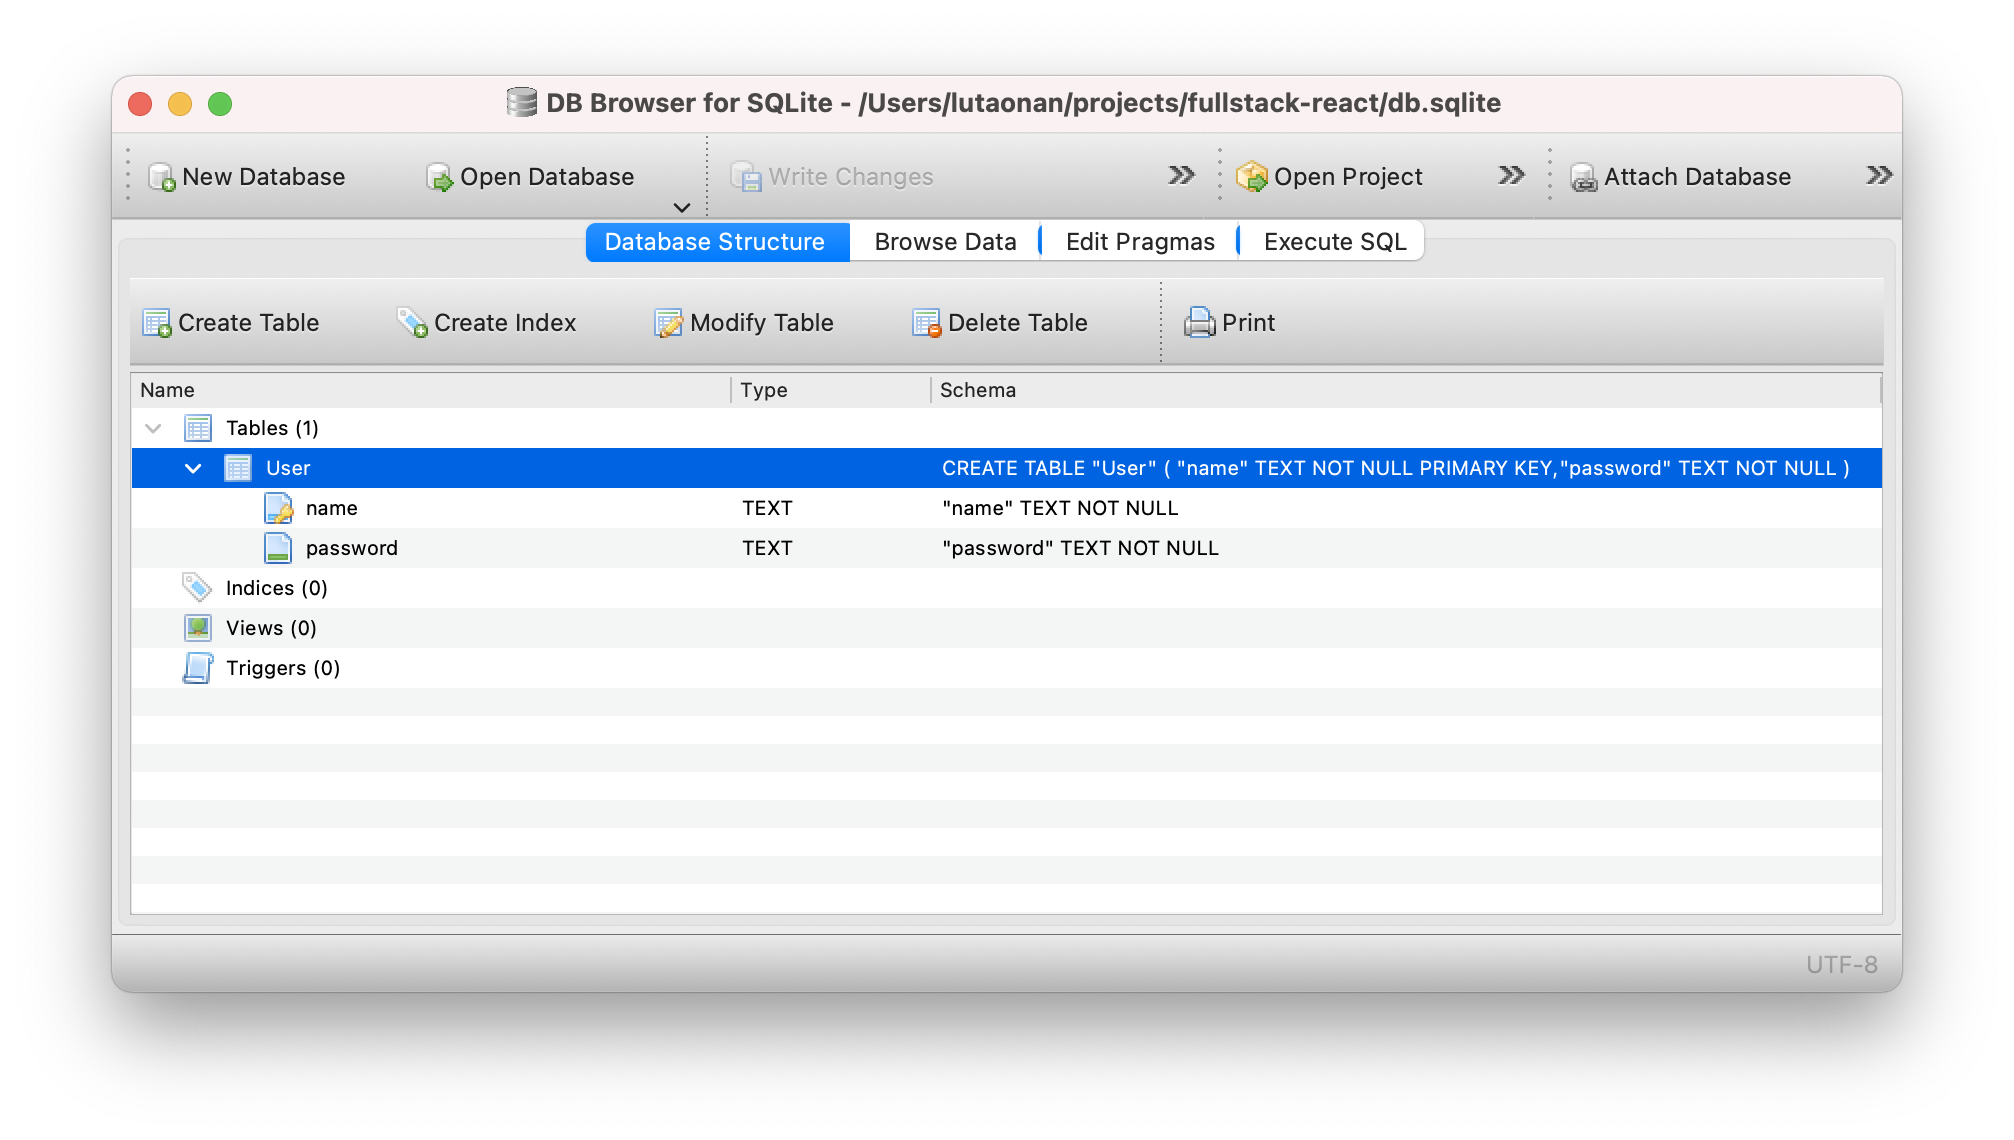
Firstly, we need to create a User table in database. Edit prisma/schema.prisma and add a User model:
// This is your Prisma schema file,
// learn more about it in the docs: https://pris.ly/d/prisma-schema

datasource db {
  provider = "sqlite"
  url      = "file:../db.sqlite"
}

generator client {
  provider = "prisma-client-js"
}

+ model User {
+   name String @id
+   password String
+ }
Then run yarn prisma db push to apply the model to database.
Now, create a pages/api/singup.ts:
import { apiHandler, prisma } from "../../utils.server";
import bcrypt from 'bcrypt'

export default apiHandler()
  .post(async (req, res) => {
    const body = req.body as {
      username: string,
      password: string
    }

    const created = await prisma.user.create({
      data: {
        name: body.username,
        password: bcrypt.hashSync(body.password, 10)
      }
    })

    res.json({
      message: 'success'
    })
  })
In this API route, we receive username and password in request body, then use prisma.user.create() to create a user in the User table.
We use
bcryptto hash user’s password. Remember don’t store user’s password in plain text.Install
bcrypt:$ yarn add bcrypt
Mutation #
Now, add a create account mutation in the create accout form:
// pages/login.tsx

async function createAccount({ username, password }) {
  await axios.post(`/api/signup`, {
    username, password
  })
}

function SignUpForm() {

  const $username = useRef(null)
  const $password = useRef(null)

  const createAccountMutation = useMutation(createAccount, {
    onSuccess() {
      alert('created!')
    }
  })

  function onClickCreateAccount() {
    const username = $username.current.value
    const password = $password.current.value
    createAccountMutation.mutate({ username, password })
  }

  return (
    <>
      <div>
        <label>Username: </label>
        <input ref={$username} type="text" />
      </div>
      <div>
        <label>Password: </label>
        <input ref={$password} type="password" />
      </div>
      <button disabled={createAccountMutation.isLoading} onClick={onClickCreateAccount}>create account</button>
    </>
  )
}
We call createAccountMutation.mutate() with the input value as variables when the button is clicked. When the mutation finished successfully (http response 200), popup an alert.
In line:36, button will be disabled when this muation is loading.
Now, let’s create an account:

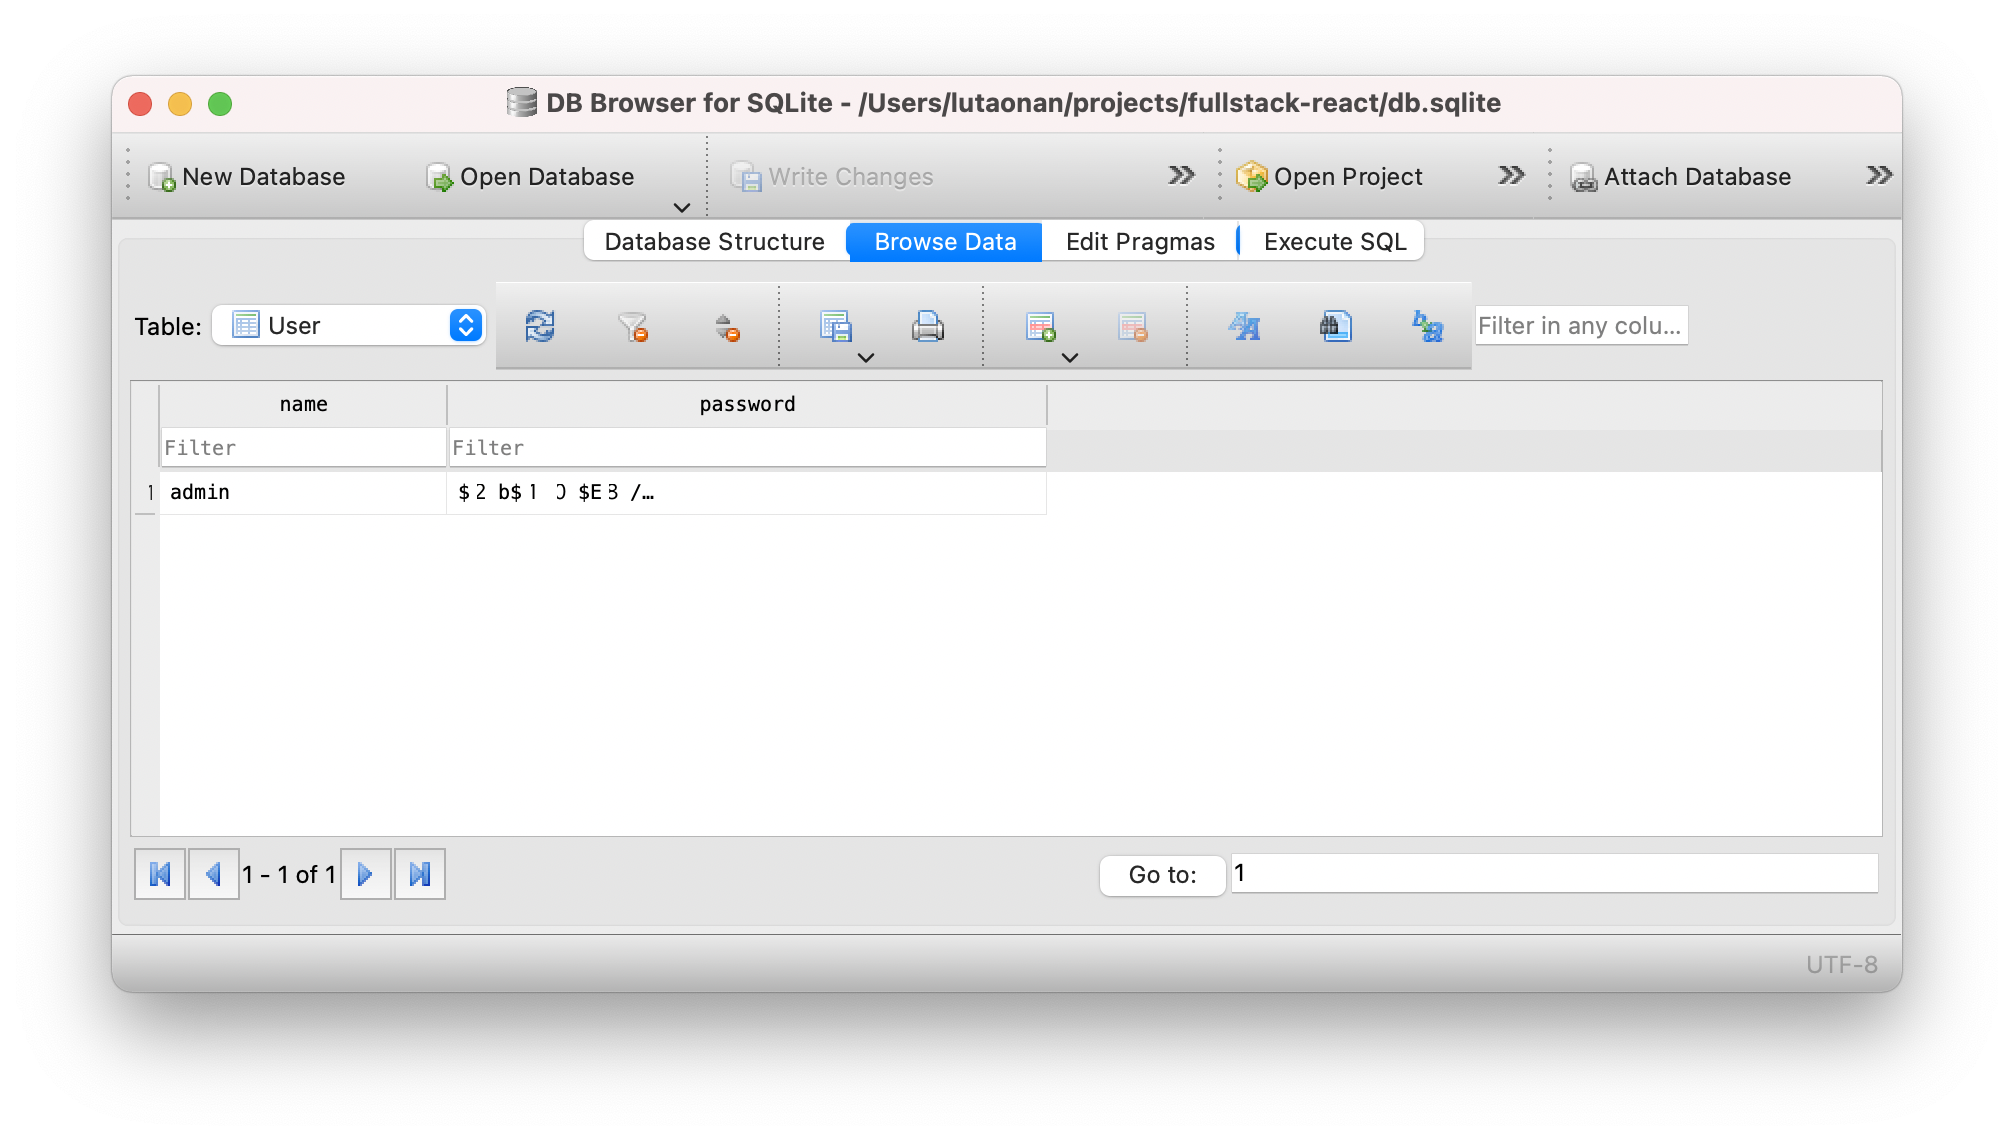
(user was inserted on table)
Login API #
There are two mainstream implementations to persist user login status: JWT and Session. They both have their own benefit. In this section, we will use JWT.
JWT (JSON Web Token) is a method to encode your data by your secret key. The token is generated on the server side with some json data (like current logged in user id) and sent to the client. The client makes HTTP request with this token to claim who he is. If the server decode the token with the secret key successfully, it means the server can trust the client.
The benefit of using JWT is the server doesn’t need to save any user’s informations, because the data is encoded and saved on the client side (even the token’s expiring date).
Validate username and password #
5d6970536afb
No matter using JWT or Session , the first step is creating an /api/login API to validate the username and password:
Create a pages/api/login.tsx
// pages/api/login.tsx

import Boom from "@hapi/boom";
import { apiHandler, prisma } from "../../utils.server";
import bcrypt from 'bcrypt'

async function validate(username, password) {
  // validate the username and password
  const user = await prisma.user.findUnique({
    where: {
      name: username,
    },
  });

  if (!user) {
    throw Boom.unauthorized("user not found");
  }

  if (bcrypt.compareSync(password, user.password)) {
    return user
  } else {
    throw Boom.unauthorized('username or password not correct')
  }
}

export default apiHandler()
  .post(async (req, res) => {
     const body = req.body as {
       username: string;
       password: string;
     };

    const user = await validate(body.username, body.password)

    res.json({})
  })
The validate function check the username and password. If they are correct, return the user object. Otherwise, it will throw an unauthorized (401) error with a username or password not correct message.
Now create a login mutation in the login form:
// pages/login.tsx

async function login({ username, password }) {
  const result = await axios.post(`api/login`, {
    username, password
  })
  return result.data
}

function LoginForm() {

  const loginMutation = useMutation(login)

  const $username = useRef(null)
  const $password = useRef(null)

  function onClickLogin() {
    const username = $username.current.value
    const password = $password.current.value
    loginMutation.mutate({ username, password })
  }

  return (
    <>
      {loginMutation.error && <div style={{ color: 'red' }}>{loginMutation.error.response.data.message}</div>}
      <div>
        <label>Username: </label>
        <input ref={$username} type="text" />
      </div>
      <div>
        <label>Password: </label>
        <input ref={$password} type="password" />
      </div>
      <button onClick={onClickLogin}>Login</button>
    </>
  )
}
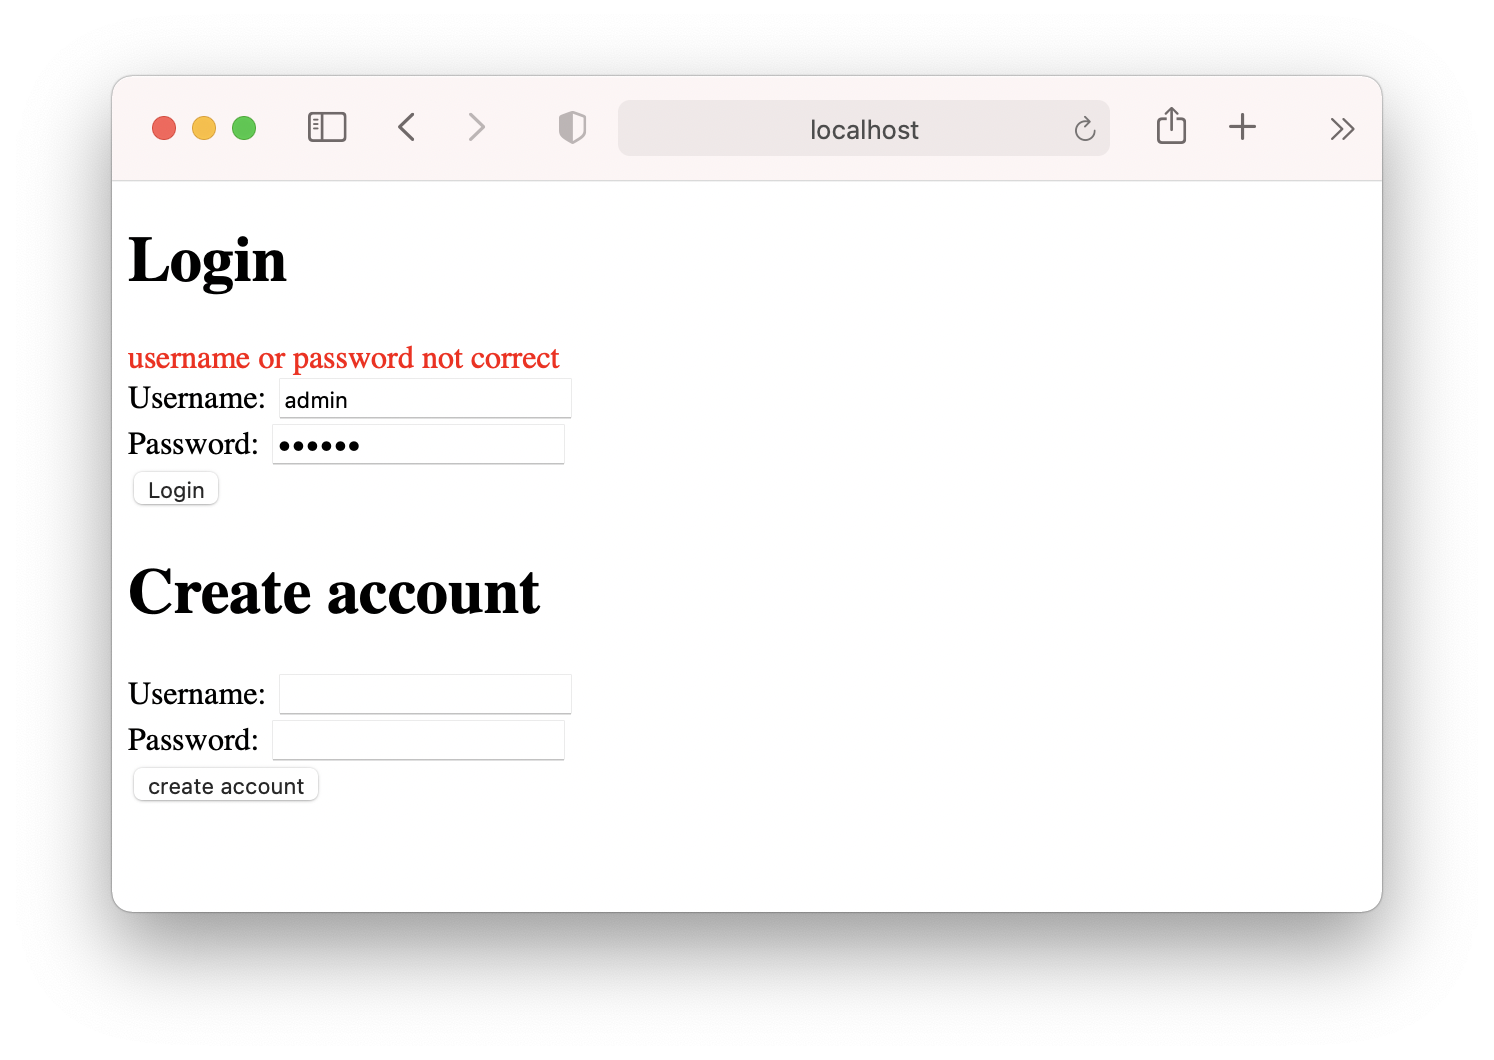
In line 30, we use loginMutation.error.response.data.message to get the response message and display it when getting a non 20X response:
Sign JWT token #
ef9529bf6db5
Now, let’s finish the api/login API route. When the username and password pass the validation, we use [jsonwebtoken](https://github.com/auth0/node-jsonwebtoken) library to sign a JWT:
Install
jsonwebtoken:$ yarn add jsonwebtoken
// pages/api/login.ts

import jwt from 'jsonwebtoken'

export default apiHandler()
  .post(async (req, res) => {
     const body = req.body as {
       username: string;
       password: string;
     };

    const user = await validate(body.username, body.password)

    // generate jwt

+   const token = jwt.sign({
+     username: user.name
+   }, process.env.JWT_SECRET, { expiresIn: '3 days' })

    res.json({})
  })
We use jwt.sign() to sign a JWT, store { username: user.name } object in the JWT. And the token will be expired in 3 days.
Where to store this token? A good practice is to store in a httpOnly cookies. To set cookies in Next.js, we use cookie library:
Install
cookie:$ yarn add cookie
// pages/api/login.ts

//...
import cookie from 'cookie'

export default apiHandler()
	.post((req, res) => {

  	// ...

    const token = jwt.sign({
       username: user.name
    }, process.env.JWT_SECRET, { expiresIn: '3 days' })

   // set a cookie named `token`

    res.setHeader("Set-Cookie", cookie.serialize('token', token, {
      httpOnly: true,
      path: '/',
      maxAge: 60 * 60 * 24 * 3
    }));

    res.json({})
	})
For security, we shouldn’t hard code our JWT secret in source code. Instead, we read it from a envroiment variable named JWT_SECRET. So we need to create a .env file. Next.js will read this file an apply all the environment variables in this file:
# .env
JWT_SECRET=ofcourseistillloveyou
Now login with the correct username and password. You can see a token cookie was set:

(Secured) User profile page #
21e4111ffbfb
Now, let’s create a user profile page in /user, which only can be visited by logged in user. If a guest visite this page, we should redirect him to /login.
Since the api/login will set a token in cookies, we can get it from req object and verify the JWT.
In utils.server.ts, define a getUserFromReq method for verifying token from req object:
// utils.server.ts

import jwt from 'jsonwebtoken'

export const getUserFromReq = async (req) => {

  // get JWT `token` on cookies
  const token = req.cookies['token']

  try {
    // if token is invalid, `verify` will throw an error
    const payload = jwt.verify(token, process.env.JWT_SECRET)

    // find user in database
    const user = await prisma.user.findUnique({
      where: {
        name: payload.username
      }
    })

    return user
  } catch (e) {
    return null
  }
}
Create a /pages/user.tsx:
// pages/user.tsx

import { getUserFromReq } from "../utils.server"

function UserPage(props: {
  user: {
    name: string
  }
}) {
  return (
    <>
      <div>
        Hello, {props.user.name}
      </div>
    </>
  )
}

export async function getServerSideProps(ctx) {
  const user = await getUserFromReq(ctx.req)

  if (!user) {
    return {
      redirect: {
        permanent: false,
        destination: '/login'
      }
    }
  }

  return {
    props: {
      user: {
        name: user.name
      }
    }
  }
}

export default UserPage
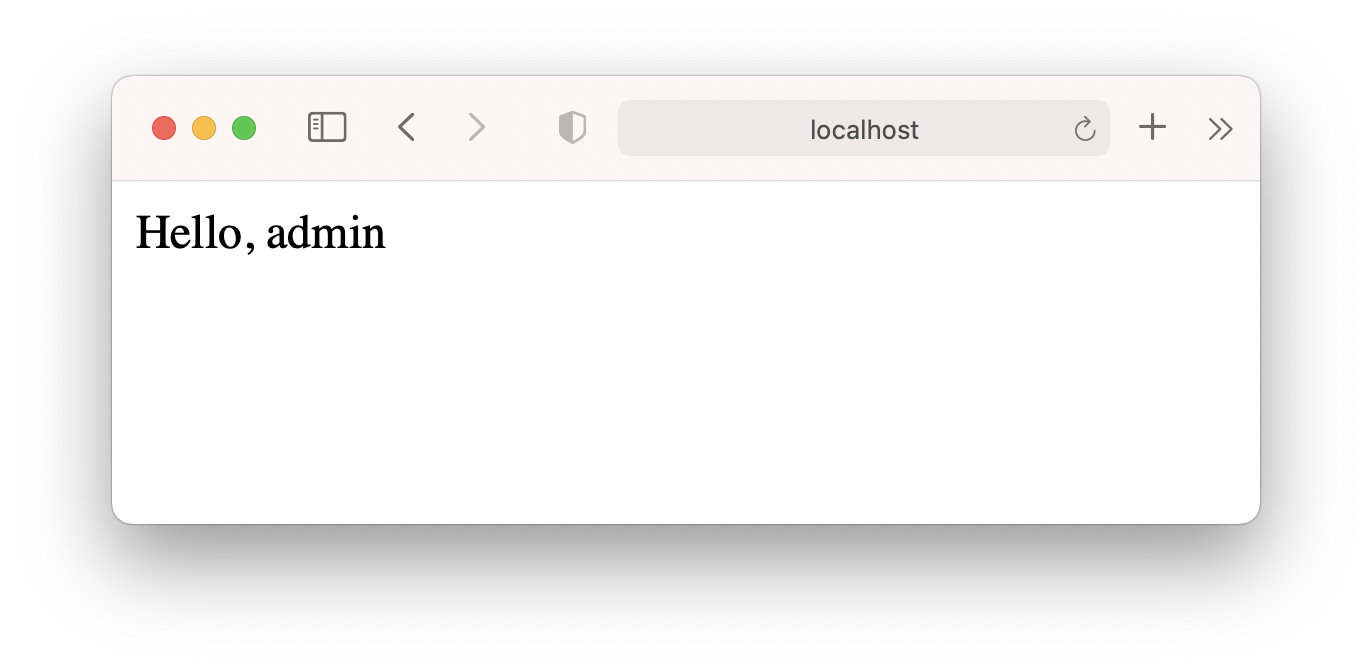
In the page’s getServerSideProps, we call getUserFromReq() to get current logged in user. If it returns null, we can return a redirect value (shape of { destination: string, permanent: boolean }) to redirect user to /login route.
Otherwise, we pass the user info into page props, and show the user’s name in page.
Exercise #
Now you’ve learned how to get logged in user’s information and do redirect in a page. If we want to prevent logged in user visiting
/loginpage again and redirect him to/userpage, what would you do?
Logout #
6d0483a7a53
To logout, we can add an API route /api/logout that invalidate the token cookies we set before then redirect to /login page:
// pages/api/logout.ts

import { apiHandler } from "../../utils.server";
import cookie from 'cookie'

export default apiHandler()
  .get(async (req, res) => {
    res.setHeader('Set-Cookie', cookie.serialize('token', 'invalid', {
      httpOnly: true,
      path: '/'
    }))

    res.redirect('/login')
  })
Then add a logout link in /user page:
// pages/user.tsx

function UserPage(props: {
  user: {
    name: string
  }
}) {
  return (
    <>
      <div>
        Hello, {props.user.name}

        <div>
+         <a href="/api/logout">Logout</a>
        </div>
      </div>
    </>
  )
}